Rain Garden Design Guide: A Simple Way to Manage Water and Beautify Your Yard
Ever seen water rush across your lawn in a storm? That water carries dirt, chemicals, and pollution into your local waterways. Your yard can stop this. A rain garden design changes how your property handles rain and makes your outdoor space beautiful.
Picture stepping outside after a storm to see water soaking into the ground, not flooding your driveway. A rain garden catches stormwater runoff from roofs, driveways, and lawns. It filters pollutants before water reaches streams and rivers. The Environmental Protection Agency sees rain gardens as a key way to protect local water quality.
Your yard can be part of the solution. This guide will show you how to create your rain garden design. You’ll learn to assess your land, choose the right plants, prepare your soil, and keep your garden healthy. It’s easier than you think.

Key Takeaways
- Rain gardens capture stormwater and prevent erosion on your property
- Native plants filter pollutants before water reaches local waterways
- Your yard location and soil type determine where to build your rain garden
- Proper soil preparation improves water infiltration and plant growth
- Seasonal maintenance keeps your rain garden functional and attractive
- Rain gardens reduce flooding and protect groundwater supplies
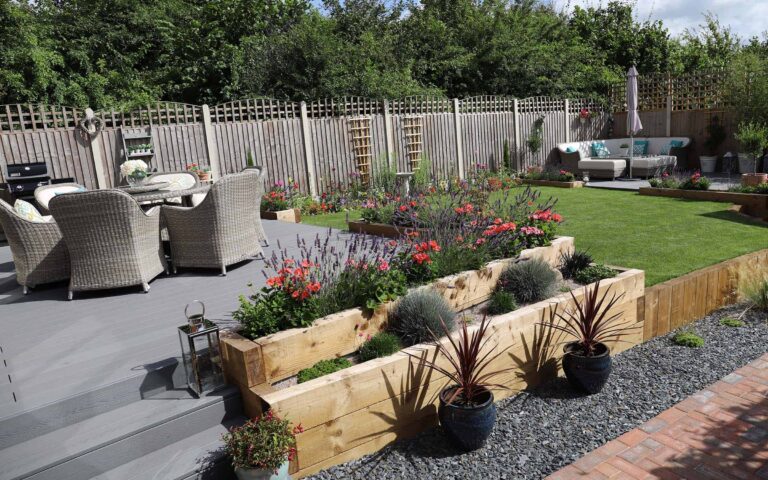
- This project combines environmental benefits with landscape beauty
Understanding the Benefits of Water Management Gardens
A water management garden turns your yard into a powerful tool for the environment. By installing a rainwater garden design, you create a natural system. This system captures and filters stormwater runoff.
This approach helps protect your local waterways. It reduces pollution that flows into storm drains during heavy rains. Your yard becomes a solution to water pollution, not a problem.
A rainwater garden acts as a natural filter. As water soaks into the soil, it removes harmful pollutants. This process cleans the water without using chemicals or expensive equipment.
These gardens also support local wildlife. Native plants attract pollinators like monarch butterflies. Their populations have declined a lot lately. By creating habitat, you help restore these species in your area.
- Reduces stormwater runoff by filtering pollutants
- Prevents flooding in your yard and neighborhood
- Supports monarch butterflies and other pollinators
- Decreases reliance on municipal storm drains
- Improves groundwater recharge naturally
Understanding these benefits shows that sustainable landscaping is more than just decoration. It’s a smart investment in your community’s health and your property’s value.
Essential Principles of Rain Garden Design
Creating a successful rain garden begins with knowing your yard’s water flow. Your property’s unique features guide where water goes during heavy rain. Evaluating these factors helps avoid costly errors and ensures your garden’s long-term success. The design process involves two key steps for a successful project.

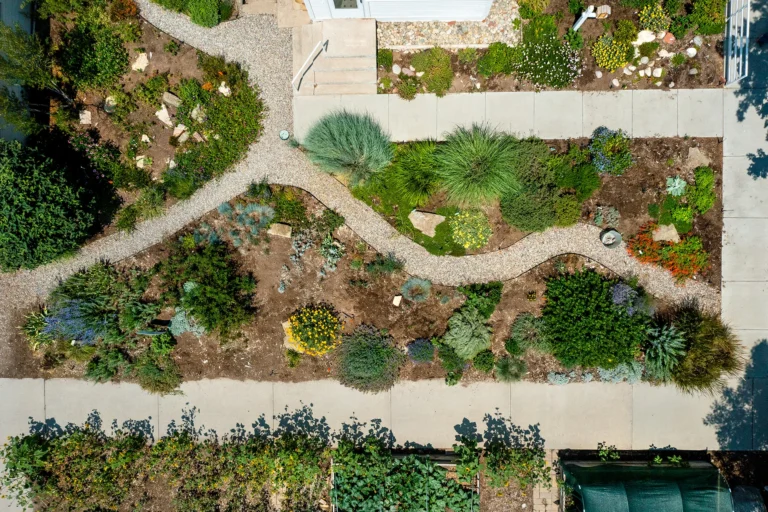
Assessing Your Yard Topography
Your yard’s topography is its natural shape and slope. Walk around your property after a rain to see where water collects. Look for low spots and drainage patterns to find the best rain garden location.
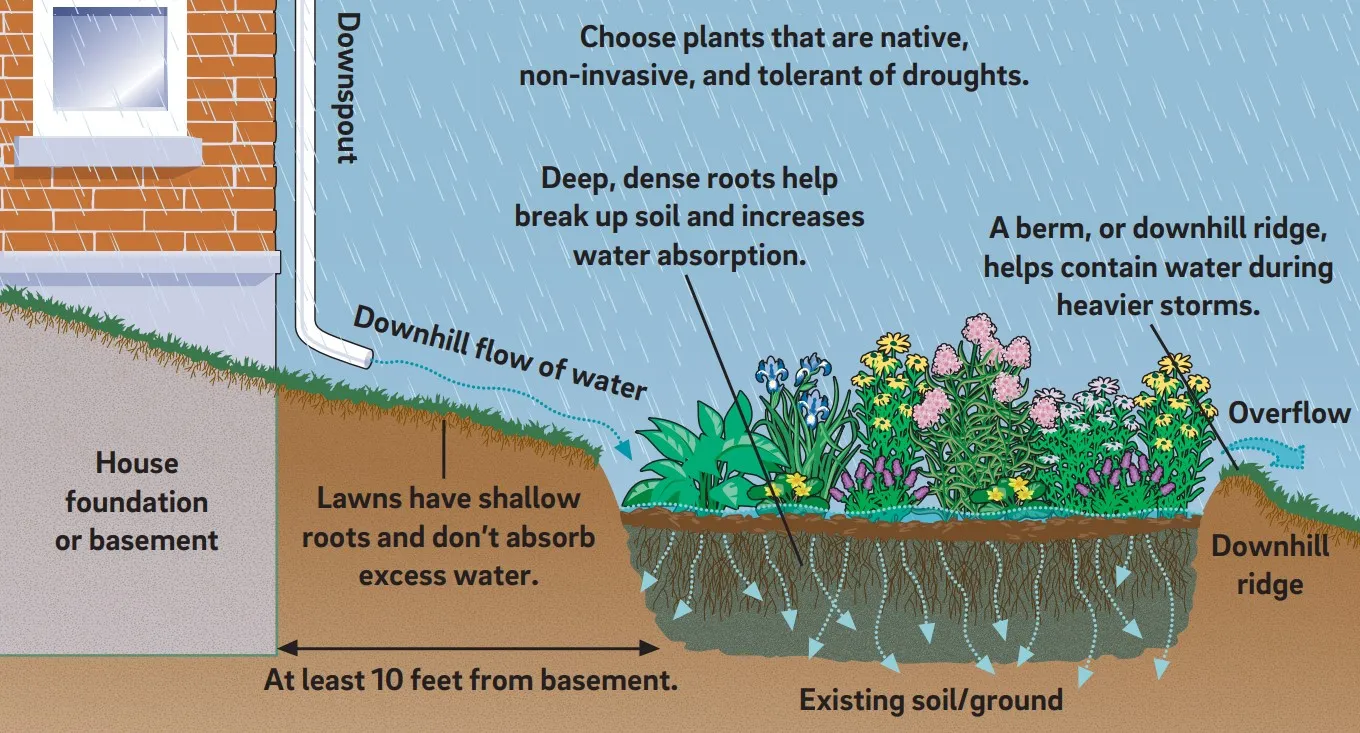
Make sure your rain garden is at least 10 feet from your home’s foundation. This keeps water away from your basement and protects your home. Mark these safe areas before picking your garden spot.
Determining Proper Drainage Zones
Drainage zones show how fast water soaks into your soil. Do a simple test by digging a 12-inch hole in your garden spot. Fill it with water and see how fast it drains. Sandy soil drains quickly, while clay-heavy soil drains slowly.
- Dig a 12-inch test hole in your garden area
- Fill the hole completely with water
- Time how long drainage takes (record in minutes)
- Repeat the test in 2-3 different yard locations
- Compare results to understand your soil composition
This info helps choose the right plants and soil amendments. Knowing your drainage zones ensures your rain garden can handle heavy rainfall, common in the United States.
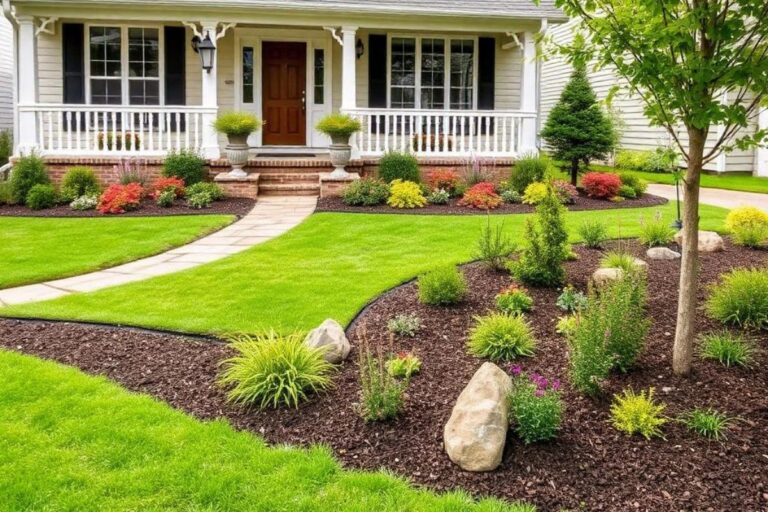
Selecting Native Plants for Stormwater Garden Ideas
Choosing the right plants is key for a successful water management system in your yard. Native plants are perfect because they naturally fit your local environment. They’ve evolved to handle your area’s rainfall and soil conditions.
Native plants have built-in advantages for drainage gardens. Their roots go deep into the ground, sometimes up to five feet. This helps water drain better. Plants like swamp milkweed and blue flag iris do well in wet conditions. Once they’re established, they need less water and fertilizer than non-native plants.
Make sure to build variety into your plant selection. A diverse mix makes your garden stronger and more beautiful.
- Grasses like switchgrass and cordgrass stabilize soil
- Sedges filter water and prevent erosion
- Flowering perennials add color and attract pollinators
- Woody shrubs provide structure and seasonal interest
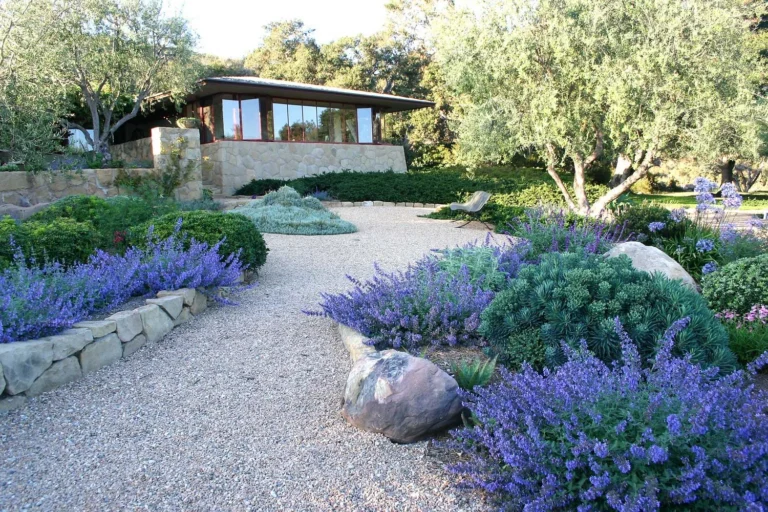
This mix helps your garden handle both wet and dry periods. Native plants need less care because they’re adapted to your area. Your stormwater garden will thrive with little chemical use. You’ll have a stunning landscape that manages water well, supports local wildlife, and reduces environmental impact.
Preparing Your Soil for Eco Drainage Landscaping
Your soil is the foundation of a successful rain garden. The right soil preparation allows water to move through the ground quickly. This prevents standing water from damaging your plants. Getting this step right means your garden can handle heavy rainfall and keep your yard healthy and attractive.
Soil preparation involves two main tasks. First, improving how fast water flows through the soil. Second, adding nutrients that plants need. Both steps work together to create the perfect environment for your rain garden to thrive. Let’s explore what you need to do.
Improving Soil Infiltration Rates
Water infiltration is how quickly water soaks into the ground. For eco drainage landscaping to work well, your soil needs to absorb at least 1 inch of water per hour. This speed prevents pooling and keeps your garden functional during heavy storms.
The best soil mix contains about 50% to 60% sand. Sand particles are larger than other soil types, which creates spaces for water to flow through. You should test your current soil before making changes. Grab a handful of wet soil and squeeze it. If it stays in a tight ball, you need more sand. If it crumbles apart easily, your infiltration is probably good.
| Soil Component | Percentage | Purpose |
|---|---|---|
| Sand | 50-60% | Creates space for water flow |
| Silt | 20-30% | Holds nutrients for plants |
| Clay | 10-20% | Provides soil structure |
| Organic Matter | 5-10% | Feeds soil life and plants |

Adding Organic Amendments
Organic amendments improve both soil structure and plant nutrition. You should mix in 2 to 3 inches of compost into your top layer of soil. Compost breaks down slowly and releases nutrients your plants need all season long.
Good compost sources include:
- Finished compost from your local garden center
- Mushroom compost for added nutrients
- Aged leaf mold from fall cleanup
- Well-rotted manure from farms or stables
These amendments do more than feed plants. They help sandy soil hold moisture better and help clay soil drain faster. Your rain garden plants will grow stronger and your soil will stay healthier over time. Proper soil preparation is the key to a rain garden that works hard for years to come.
Installing Your Drainage Garden Landscaping Features
Starting your drainage garden landscaping means doing some excavation first. You’ll dig a shallow basin that’s 6 to 12 inches lower than the ground around it. This basin will catch water from your roof, driveway, and yard when it rains.
The basin’s bottom must be perfectly level. A flat bottom lets water spread out evenly. This helps your soil absorb water better.
Next, build a berm on the downhill side of your garden. A berm is a raised wall of soil that keeps water in during storms. It gives your soil time to soak up the water.
Key Installation Steps
- Measure and mark your garden location on level ground
- Dig your basin to a depth of 6 to 12 inches
- Check that the bottom surface is flat using a level tool
- Build your downhill berm from excavated soil
- Compact the berm soil firmly to prevent erosion
- Smooth out any rough edges around the basin
| Installation Component | Depth/Height | Purpose | Material |
|---|---|---|---|
| Basin | 6 to 12 inches | Holds and absorbs stormwater | Amended soil |
| Berm | 12 to 18 inches | Contains water during heavy rain | Compacted soil |
| Bottom Surface | Level grade | Ensures even water distribution | Compacted subsoil |
| Perimeter | Sloped edges | Directs water into the garden | Natural soil contour |
Getting these features right lays a solid base for your drainage garden. Your garden will handle stormwater well and look great in your yard.
Maintaining Your Sustainable Landscape
Keeping your garden in top shape needs regular care. The first two years are crucial for a strong start. A good maintenance plan keeps your garden working well and protects your property from water issues and erosion.
Your sustainable landscape needs ongoing care to stay healthy. Think of maintenance as an investment in your garden’s future. A well-kept rain garden stops water from pooling and keeps your yard looking great.
Seasonal Pruning and Mulching
Mulch is key for plant care. Use two to three inches of hardwood mulch yearly to control weeds and retain water. This simple step saves time and keeps plants happy during dry times.
Prune in late winter to remove dead leaves and branches. This helps new growth and keeps your garden neat and organized.
- Apply mulch in early spring and fall
- Use hardwood chips for best results
- Keep mulch two to three inches deep
- Prune dead branches in late winter
- Remove diseased foliage right away
Managing Debris and Sediment
After storms, debris can block your garden’s inlets. Clear these spots quickly to ensure water flows well. Blocked inlets can cause flooding in your yard.
Sediment builds up over time. Check your garden every few months and remove dirt or plant material. This keeps your drainage system clear and efficient.
| Maintenance Task | Timing | Why It Matters |
|---|---|---|
| Clear inlet areas | After each major storm | Prevents water backup and flooding |
| Apply mulch | Spring and fall | Stops weeds and keeps soil moist |
| Remove sediment | Every two to three months | Maintains proper drainage flow |
| Prune plants | Late winter | Encourages healthy new growth |
Regular upkeep takes just a few hours each season. Your efforts now mean enjoying a beautiful, functional yard that manages water naturally for years to come.
Conclusion
Building a rain garden is a rewarding project for your home and the environment. You now know how to create a water management system. Your yard can become a beautiful spot that handles stormwater runoff wisely.
Design, planting, and care are key to a sustainable landscape. Start by checking your yard’s slope and drainage. Pick native plants that love wet conditions. Make your soil better with the right amendments to soak up more water.
Install your garden features carefully. Regular maintenance is crucial. Prune and mulch your plants seasonally to keep them healthy. Also, remove debris and sediment to keep water flowing right.
Start your rain garden today to help your community. This project adds value to your property and protects local water. Your garden will be a model of environmental care in your area.